
There are 3 methods of check-in available for your employees in Urhere:
QR Scan Check-in (employee’s scan a QR code on their app)
App Based Kiosk Check-in (employee’s use a pin)
GPS Check-in (employee’s select option in their app, capturing their location)
Before your employee’s can check-in make sure you have:
Print & or Display a Check-in / Out QR Code #
The easiest, fastest, and most cost effective method for employee’s to check-in on Urhere is by using the QR code generated for you.
Accessing your QR Code:
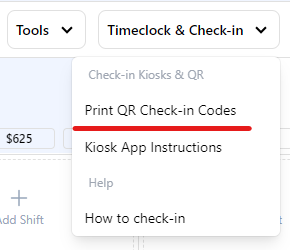
Under the “Timeclock & Check-in” dropdown in your Schedule, click on the “Print QR Check-in Codes” option.
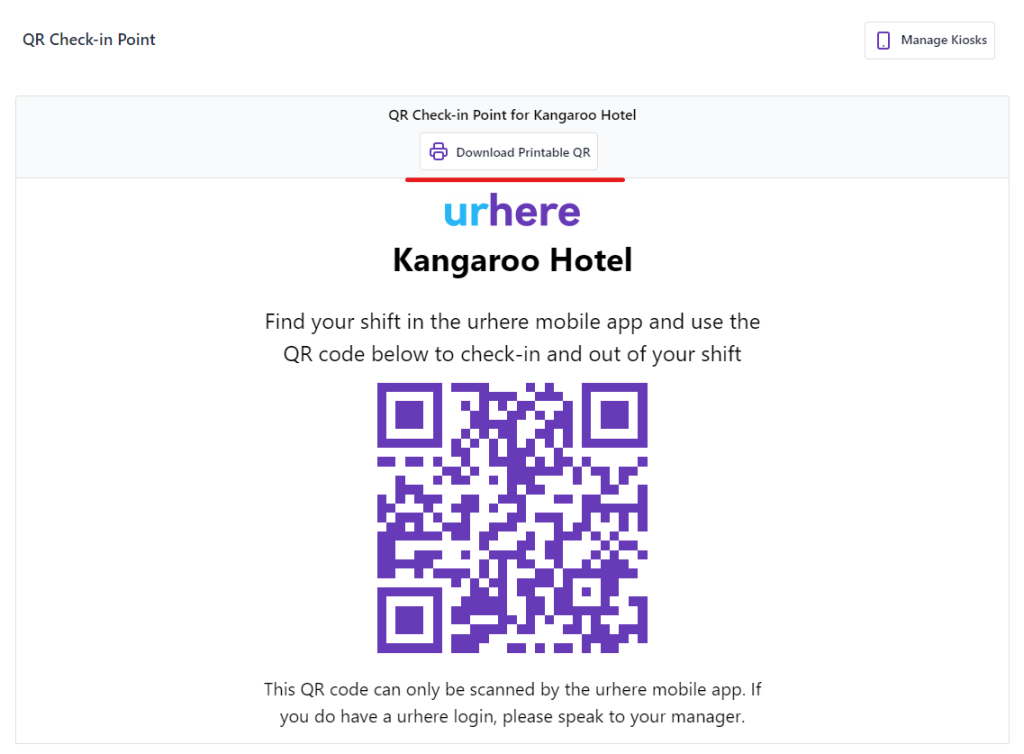
Downloading your QR Code:
Simply click on the “Download Printable QR”. This will download a printable version of your QR code.
Alternatively, you can choose to display this QR code on any device.
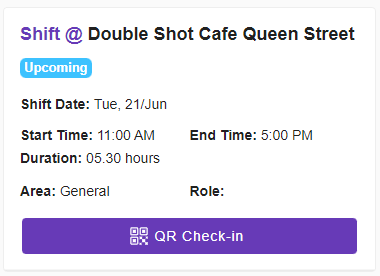
How to Check-in via a QR Code:
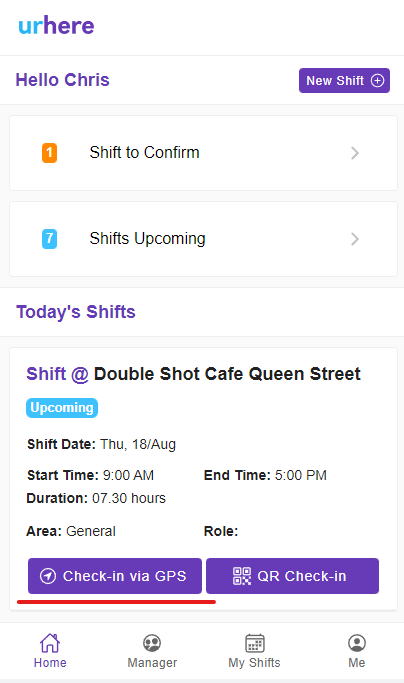
Employee’s can simply scan to Check-in or out of their shift by tapping the “QR Check-in/ QR Check-out” button on their app.
Using the Urhere Kiosk App #
The Urhere mobile app can be used as a Check-in & out point for employees.
Employee’s use a pre-set pin to check-in & out of their shift. If a shift exists on the roster for that day, they will be able to check-in. If a shift does not exist, an unscheduled shift will be created.
Tip: Each employee will automatically be assigned a pin of 1234. This can be updated in their Employee Profile.
Step 1 – Download the Urhere App
Download the Urhere app on a tablet or mobile device.
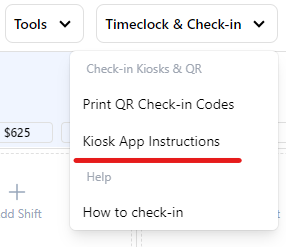
Step 2 – Accessing Kiosk Log-in Details
To access the kiosk login, browse to “Timeclock & Check-in” on the Schedule and select “Kiosk App Instructions”.
Step 3 – Log-in to the app using the Kiosk Login
Once you have download the Urhere app, simply download the kiosk and log-in.

Watch the video below to see how the Check-in kiosk works:
It only takes minutes to set-up and check-in.
Setting up GPS Check-in #
GPS Check-in allows you to capture the Check-in and Out location of an employee.
Useful Scenarios
- Remote working (including work from home)
- Trades & Job Based Work
- Businesses that don’t want to use a QR code or Tablet Bundy Clock
Allow GPS Check-in #
When you create a shift, there is an option to set the shift to allow “GPS Check-in”.
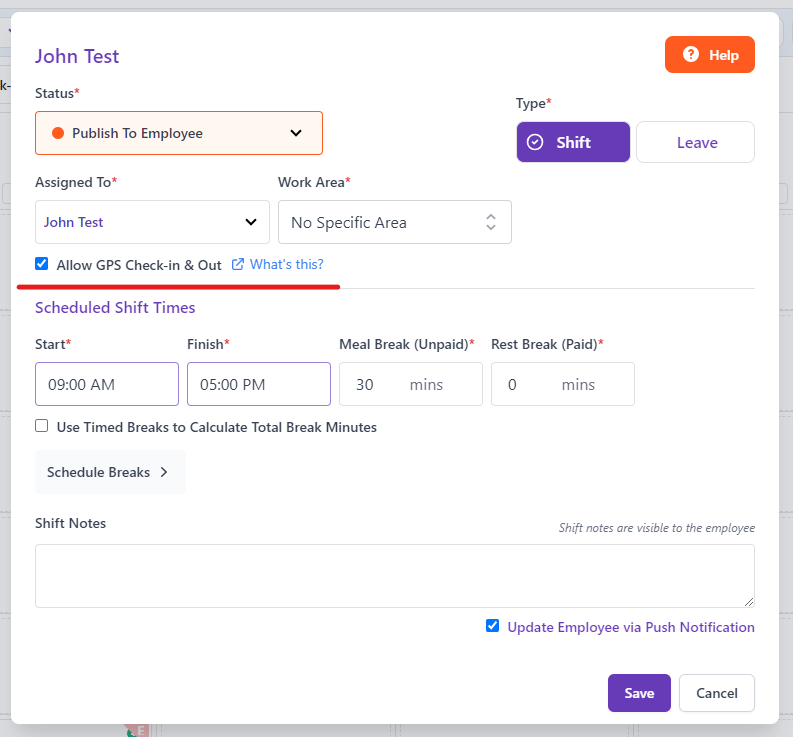
When this option is selected, the Employee will have the “GPS Check-in” option available to them for that shift.
Note: Employees must allow the Urhere app Access to their location for this feature to work.
Setting the GPS Check-in Default for All Shifts #
For some businesses or locations/ venues in your business, it may make sense to have every new shift default to GPS check-in.
To do this, go to Account > Settings & Click on “System Configuration”.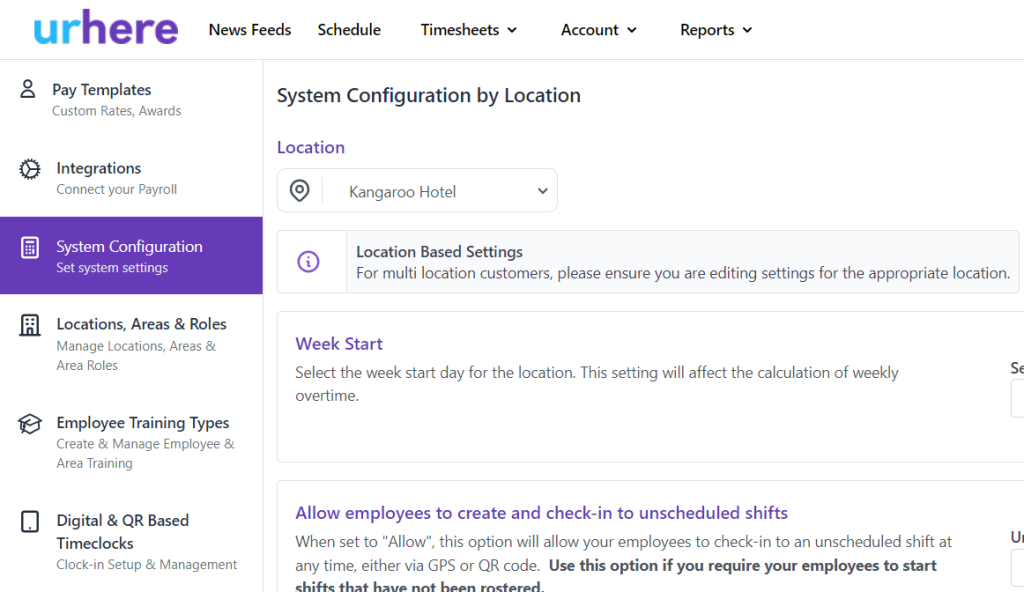
Select the appropriate Location.
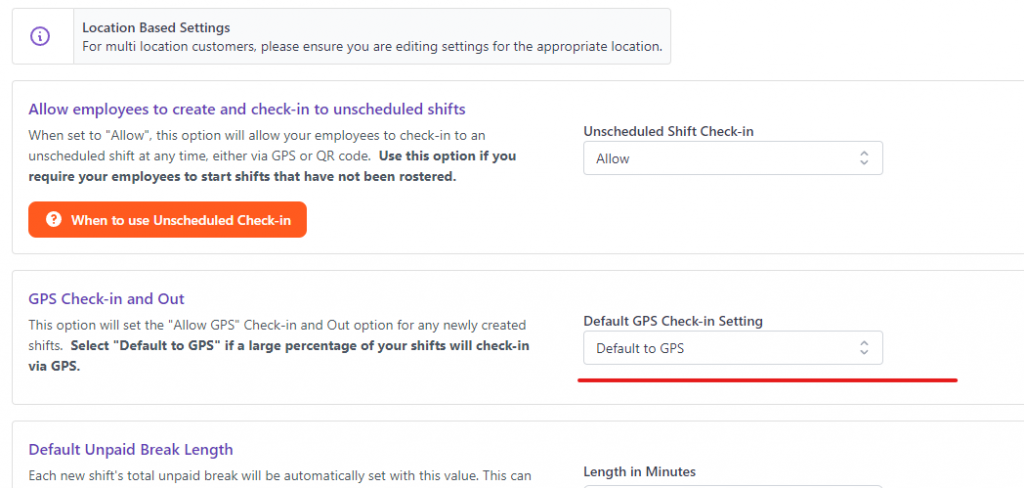
Set the “GPS Check-in and Out” to “Default to GPS”.
This will set each newly created shift to “Allow GPS Check-in”.


