Some businesses may require their book keeper or accountant to have access to Urhere for administrative purposes such as setting up payroll connections, employee & timesheet management.
To read more about setting up payroll integrations, click here.
Creating a new administrative user #
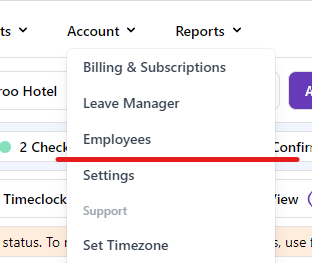
Setting up an administrative user is very similar to the process undertaken to setup a new employee. To do this, browse the Employee’s page under ‘Account’.

Step 1: Add User Email & Set a Password
Click on the Add Employee or User button at the top left hand side of the page:


Step 2: Select Employee Type as Manager / Administrator
To ensure this user is hidden from normal employee features such as the schedule & timesheets (don’t worry, they can still process them), use the following settings:
- Set the Employee Type to Manager / Administrator
- Select the “Administrator Only” option.
For multi location / venue customers, select the relevant location for access. If the book keeper requires access to all of your locations, see step 3 below.
Once you have filled out all the fields, click next to create the user. After you have completed this step, your administrative user will be able to access Urhere using the credentials you created previously.

Multi Venue Customers Only: Step 3 – Assigning Location Permissions
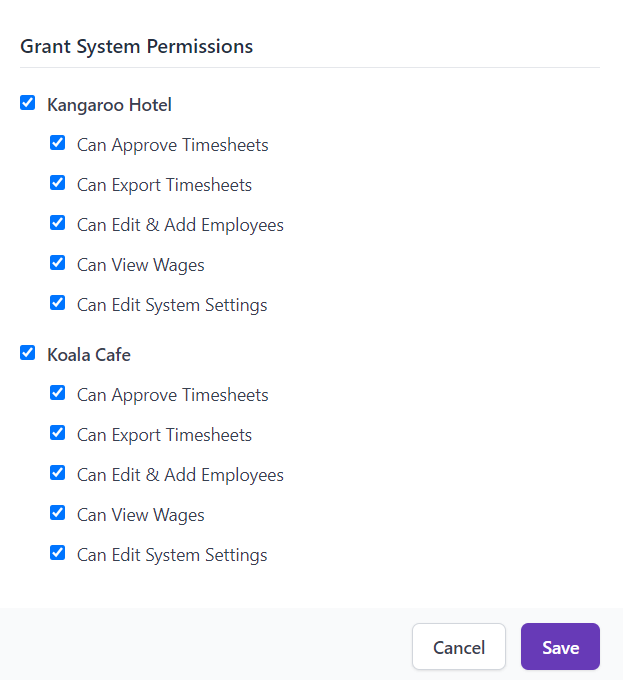
If your administrative user requires access to one or more of your locations in Urhere, click on the Location Permissions in the User Profile to assign access to the desired locations. You can also choose to set more specific permissions for which your administrator can have access to (click here for more information on what each of these tick boxes does).


